Drawing faces is one of the most essential and rewarding skills for an artist. Whether you are a beginner or looking to refine your personal style, understanding facial proportions and structure is key to creating expressive and dynamic portraits. In this guide, we will break down the fundamentals of drawing faces in both front and side views while allowing you to develop your own artistic style.
1. Understanding Basic Face Proportions
Before diving into stylistic choices, it’s important to grasp the basic structure of the human face. The face can be divided into proportional sections to maintain balance and realism, even when adapting it to your style.
- Head Shape: The head is generally an oval or egg shape, slightly wider at the top and narrowing at the chin.
- Guidelines: Draw a vertical line down the center of the face and a horizontal line across the middle to place facial features.
- Eye Placement: Eyes typically sit halfway down the head.
- Nose & Mouth Placement: The bottom of the nose is around halfway between the eyes and chin, while the mouth is about one-third of the way down from the nose to the chin.
- Ears: The ears align with the eye level at the top and the base of the nose at the bottom.
Once you understand these proportions, you can exaggerate or modify them to fit your unique art style.
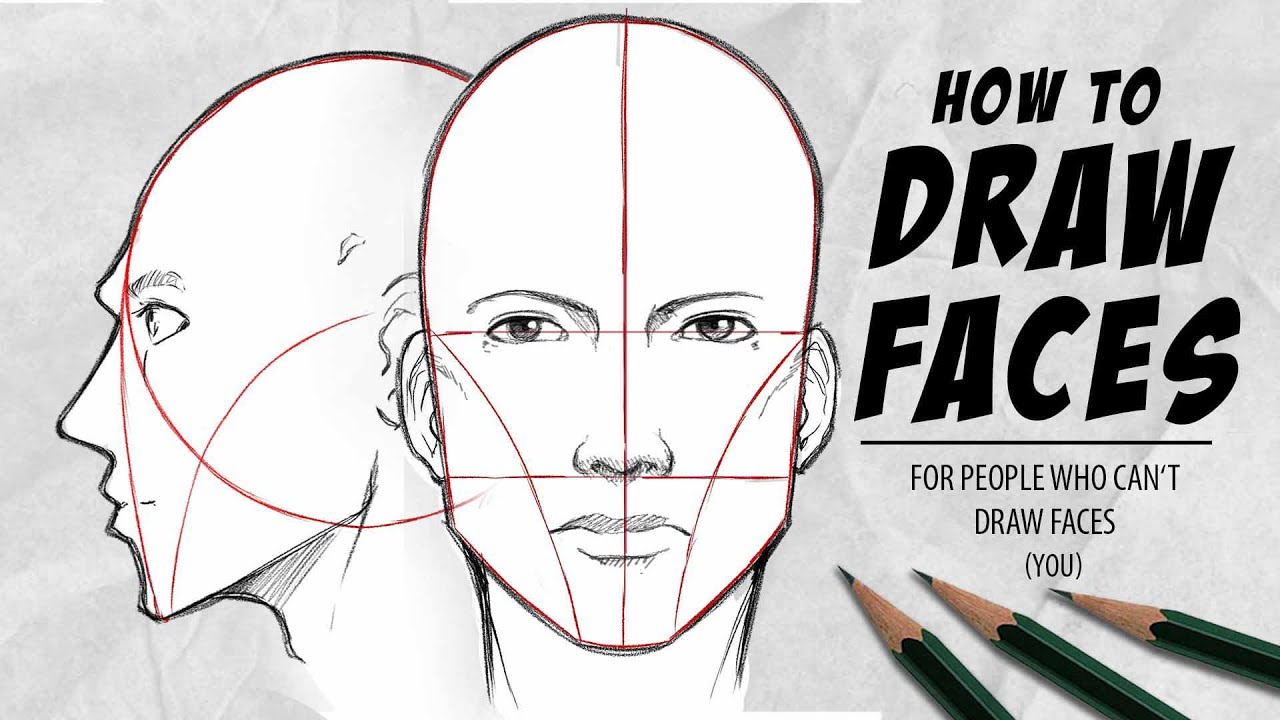
2. Drawing a Face – Front View
The front view is one of the most commonly used angles when drawing faces. Here’s how to construct a face step by step:
Step 1: Sketch the Head Shape and Guidelines
- Begin with a rough oval shape to outline the head.
- Lightly draw a vertical centerline and a horizontal line across the middle of the oval to place facial features accurately.
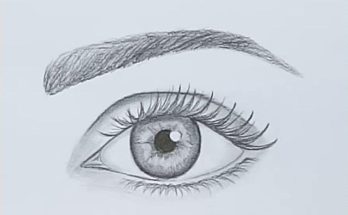
Step 2: Add the Eyes
- Place the eyes along the middle guideline, ensuring even spacing between them.
- You can stylize the eye shape based on your preference—larger for an anime/manga look, smaller and more realistic for a semi-realistic approach.
Step 3: Draw the Nose
- Sketch a small vertical line at the center of the face, stopping halfway between the eyes and the chin.
- The shape and size of the nose depend on your style; you can use simple lines for a cartoonish look or more detailed shading for a realistic touch.
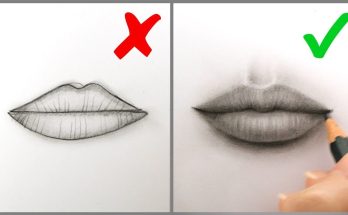
Step 4: Add the Mouth
- The mouth sits one-third of the way between the nose and chin.
- A simple line with small curves at the edges can create a subtle smile, or you can draw fuller lips for a more detailed approach.
Step 5: Outline the Jaw and Chin
- Adjust the shape of the face to match the character’s features—rounder for softer styles, sharper for a more angular look.
Step 6: Draw the Ears and Hair
- Ears should align with the eye and nose level.
- Hair should follow the shape of the skull but can be modified to fit your style, whether it’s realistic, wavy, or exaggerated.
3. Drawing a Face – Side View
A side profile offers a different perspective, allowing you to focus on the depth of facial features.
Step 1: Sketch the Head and Guideline
- Start with a circle for the cranium and extend a vertical line downward for the jaw.
- Use a horizontal guideline to align facial features correctly.
Step 2: Define the Facial Structure
- The forehead, nose, lips, and chin should follow a natural curve.
- The nose tends to protrude outward, while the lips and chin follow a softer slope.
Step 3: Add the Eye, Nose, and Mouth
- The eye should be placed slightly behind the vertical centerline of the face.
- The nose can be simplified into a triangle or curve, depending on your style.
- The lips should follow a gentle outward curve, with the upper lip often protruding slightly more than the lower lip.
Step 4: Sketch the Ear and Hairline
- The ear is positioned between the eye and nose level.
- The hairline follows the shape of the skull but can be stylized for a more unique look.
4. Developing Your Own Style
Once you are comfortable with the basic proportions, you can experiment with different elements to create your own unique style. Here are some ways to customize your drawings:
- Simplify or Exaggerate Features: Play with proportions by making eyes larger, noses smaller, or chins sharper to create distinct character designs.
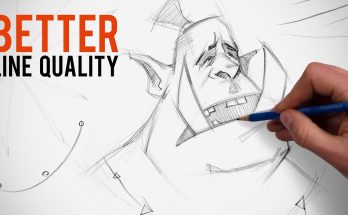
- Experiment with Line Weight: Use thick or thin lines to define details and emphasize depth.
- Try Different Expressions: Practice different emotions by adjusting the eyebrows, mouth, and eyes.
- Incorporate Unique Hairstyle Choices: Hair can add personality to a character, whether it’s sleek, messy, or exaggerated.
Final Thoughts
Drawing faces in both front and side views is a fundamental skill for any artist. By understanding proportions, practicing different angles, and adding your personal touch, you can develop a distinct artistic style that makes your portraits stand out. Keep experimenting, and over time, your face drawings will become more expressive, polished, and unique!