Drawing is a skill that anyone can learn and enjoy, even if you’re a complete beginner. Whether you’re picking up a pencil for the first time or looking to improve your technique, there are simple drawing tricks and techniques that can help you create stunning artwork. This article will explore 14 easy and effective drawing ideas and tips to get you started on your creative journey.
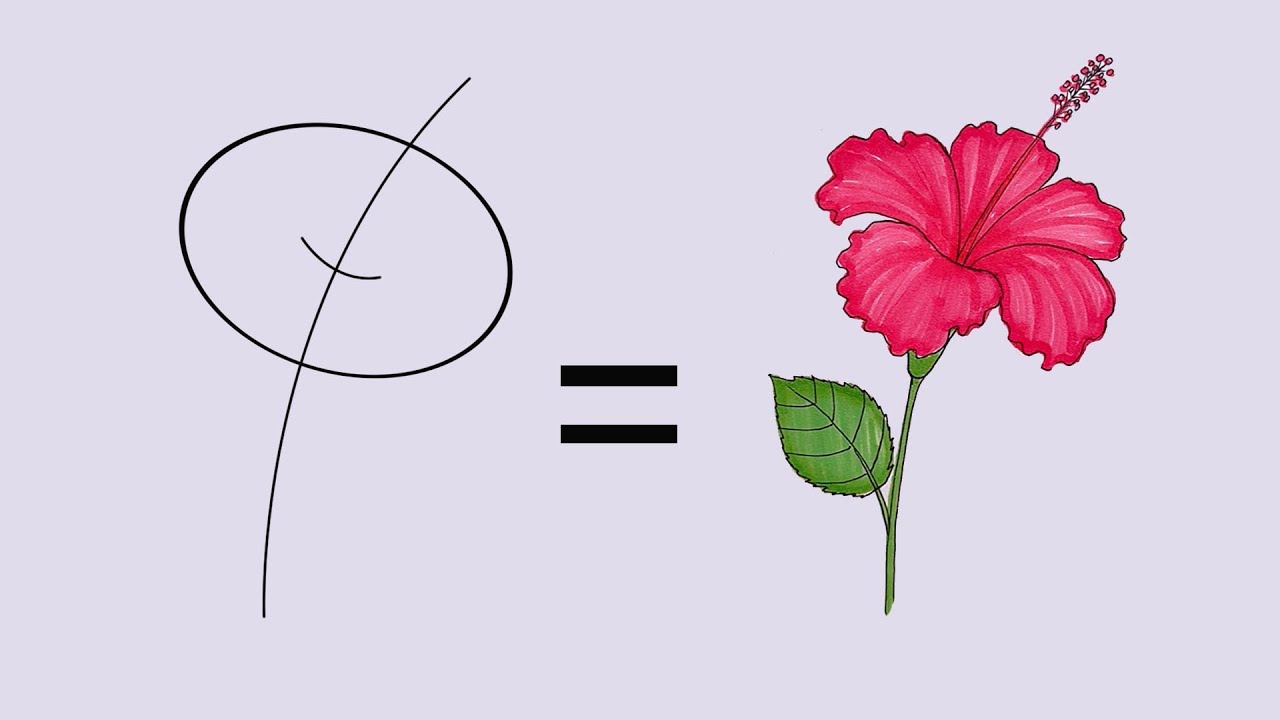
1. Start with Simple Shapes
Every object can be broken down into simple shapes. Whether you’re drawing a person, animal, or object, start by sketching basic shapes like circles, squares, triangles, and rectangles. These shapes serve as the framework for your drawing.
How It Helps:
By building your drawing from simple shapes, you’ll have a strong structure to guide the proportions and placement of details.
Tip: For example, to draw a cat, start with a circle for the head, ovals for the body, and smaller circles for the paws.
2. Use Light Pencil Strokes
When sketching, use light pencil strokes to outline your drawing. This allows you to make corrections easily and avoid harsh lines in your final drawing. Light strokes help you maintain flexibility as you refine your artwork.
How It Helps:
It’s easier to adjust shapes, proportions, and details when you’re working with lighter lines, and it prevents your final artwork from looking messy.
Tip: As you finalize your drawing, go over the lines with a darker pencil or ink for definition.
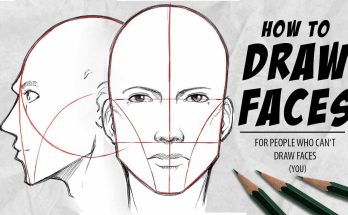
3. Practice Proportions
Proportions are essential for making your drawings look realistic and balanced. Start with simple subjects like faces or figures and focus on getting the proportions right.
How It Helps:
Understanding the basic proportions of the human body (such as the size of the head compared to the body) or the shape of an object will help you avoid drawing things that look out of place.
Tip: For example, when drawing a face, the eyes are generally halfway down the face, with the nose placed halfway between the eyes and chin.
4. Use Grid Method for Accuracy
The grid method is a helpful technique when you’re trying to draw more accurately. By dividing your reference image into a grid, you can recreate it by drawing smaller grids on your paper.
How It Helps:
It allows you to focus on drawing smaller sections at a time, improving accuracy and proportion.
Tip: Start by drawing the grid lightly in pencil, and once you’ve completed your drawing, erase the grid lines for a cleaner finish.
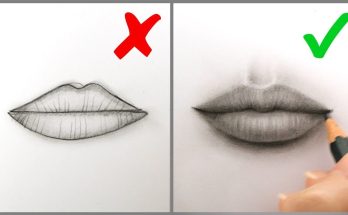
5. Shading for Depth
Shading adds depth and dimension to your drawings. Instead of just drawing flat outlines, use varying levels of pressure to create areas of light and dark. This will make your drawings appear three-dimensional.
How It Helps:
Shading gives your drawing volume and makes it look more lifelike. Light and shadow are key in conveying form and depth.
Tip: Practice shading by focusing on a light source. For example, imagine a light source on the left and shade the right side of objects to create contrast.
6. Hatching and Cross-Hatching
Hatching is a shading technique where you use parallel lines to fill in shadows, while cross-hatching involves layering sets of lines that intersect at different angles.
How It Helps:
These techniques are perfect for creating texture, depth, and dimension without the need for smudging.
Tip: Start with light hatching and build up layers gradually for darker shadows.
7. Draw What You See, Not What You Think
When you’re drawing from a reference, try to focus on what you actually see rather than what you think should be there. It’s easy to make assumptions about how things should look, but closely observing your subject will make your drawings more realistic.
How It Helps:
This approach helps you avoid drawing things inaccurately because you’re focused on the true shapes, proportions, and details.
Tip: Look for small details that may not immediately stand out, like the texture of the skin or the angle of the light.
8. Use Different Textures
Experiment with different line textures to give your drawing variety and interest. For instance, short, quick lines can create a soft, fuzzy texture, while long, flowing lines can evoke smoothness.
How It Helps:
Textures make your drawings more dynamic and engaging. It adds personality to your work and allows you to depict different surfaces like fur, fabric, or wood.
Tip: Try combining different textures within the same drawing to create contrast between objects or elements.
9. Simplify Complex Subjects
When drawing something complex, break it down into smaller, simpler parts. Instead of trying to draw everything at once, focus on one section at a time. For example, if you’re drawing a tree, start with the trunk and branches before adding leaves.
How It Helps:
Breaking down complex subjects into manageable parts makes the overall drawing process less overwhelming and more achievable.
Tip: Keep the larger shapes and forms in mind as you add smaller details to avoid losing the structure of your drawing.
10. Use Reference Images
Don’t hesitate to use reference images when you’re unsure about how something should look. You can find references online or in books, and they can be invaluable for learning new techniques or getting proportions right.
How It Helps:
Having a reference image ensures that you’re drawing accurately and helps you understand how things look from different angles.
Tip: Pay attention to details in the reference image—textures, shadows, and light sources that can make your drawing more realistic.
11. Add Highlights
Highlights bring life and vibrancy to your drawing. Use an eraser to gently lift off some graphite to create highlights in areas where light hits an object, like the top of a shiny apple or the cheekbone in a portrait.
How It Helps:
Highlights provide contrast and help to emphasize the light parts of your subject, adding realism and dimension.
Tip: Don’t overdo highlights—focus on small areas that naturally reflect light.
12. Experiment with Different Drawing Tools
While pencils are the most common drawing tool, you can also experiment with charcoal, colored pencils, ink pens, and pastels. Each tool produces a different effect and can help you achieve various styles.
How It Helps:
Exploring different tools will allow you to discover which medium works best for your style and gives you greater versatility in your drawings.
Tip: Try combining different tools (e.g., ink for outlines, charcoal for shading) to create a more dynamic drawing.
13. Keep Your Drawings Loose
Don’t get too caught up in making everything perfect. The beauty of drawing comes from the freedom and creativity it allows. Keep your lines loose and flowing, especially during the early stages of your sketch.
How It Helps:
Loose drawings capture movement and emotion, making them more expressive and engaging.
Tip: Once you’re happy with your rough sketch, refine it with more precision and detail.
14. Practice, Practice, Practice
The key to becoming better at drawing is practice. The more you draw, the more you’ll improve. Don’t be discouraged by mistakes—each drawing is a learning experience.
How It Helps:
Regular practice builds muscle memory and helps you refine your technique, making you a better artist over time.
Tip: Set aside a few minutes every day to sketch. Even small sketches will help improve your skills.
Conclusion
Drawing is a rewarding skill that anyone can learn with patience and practice. By applying these 14 simple tricks and techniques, you’ll not only improve your drawing skills but also enjoy the creative process. Remember, the key is to start simple, focus on observation, and practice regularly. The more you draw, the more you’ll develop your unique style and become more confident in your artistic abilities.